-40%
Lexus IS300 Triple Gauge Pod Holder 52mm - 3D Printed with the correct material
$ 23.73
- Description
- Size Guide
Description
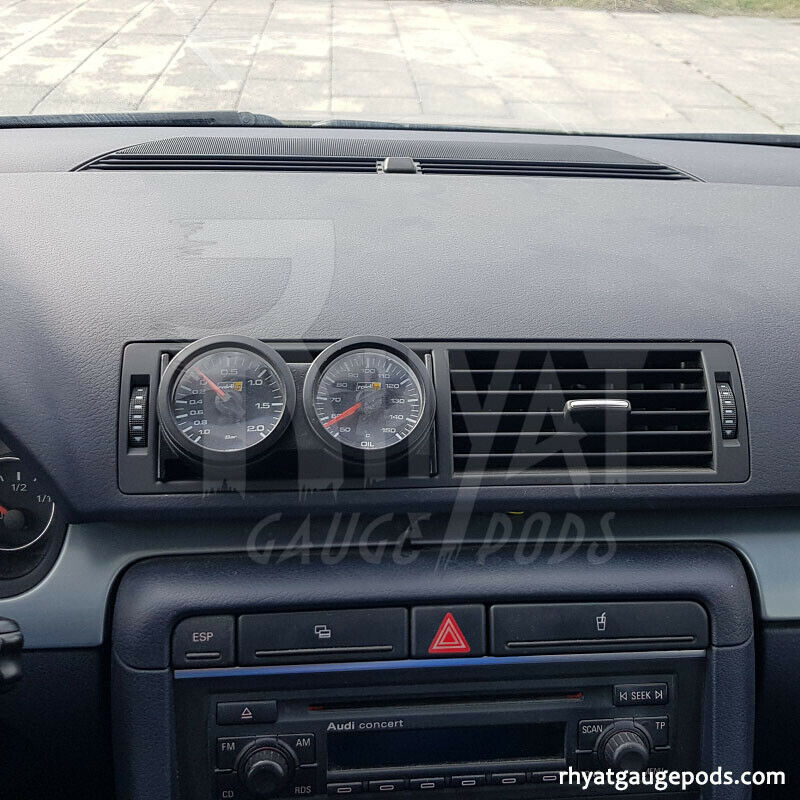
***** BEWARE OF OTHER SELLERS USING PETG and PLA - THEY WILL NOT HOLD UP IN CARS - THEY WILL BEGIN TO MELT *****Triple gauge pod holder, licensed by the original designer to print and sell. These only work on the IS300's that have an open cubby in the top position. They do not work with flip open lids or navigation units, nor do they include the cubby itself. Only the 3d printed part is included in this auction.
Three 52mm gauge pod holes - comes unfinished in black ASA, which is heat and UV resistant. Do NOT be fooled by items printed with PLA or PETG - they will not hold up to interior temps in a car. ASA and ABS are the best materials for in car usage.
Some gauges are slightly oversized - this is designed to be a snug fit for most, however some gauges will need some sanding to make them fit properly - do NOT force them.
ASA can be vapor smoothed with acetone, it can also be bondo'd or filled to smooth out and then painted. Some people have also molded this into the upper tray. It will need to be glued or taped in place - lots of personalization / customization options.
I can also provide these in custom colors and in right hand drive versions. Please contact me for lead time.
FAILURE TO READ THESE INSTRUCTIONS MAY RESULT IN PRODUCT FAILURE!!!
Some tips and tricks for gauge pod holders.
1) Gauge fitment - these are designed around 52mm gauges. Unfortunately some manufacturers pods are sold as 52mm but they are indeed larger diameter. Do not force the gauge in - it should be snug. If it ends up a little loose, a tiny dab of silicone is all it takes to keep it in place. If the gauge doesn't fit, you can sand up to half a millimeter larger in diameter. The gauges that don't meet the spec are usually like 52.1 and 52.12mm so it generally doesn't take much sanding - use something heavy grit like 40 or 60 - a dremel is handy.
2) Finishing - many people use their pods just as they come out of the printer. If you want to get rid of the layer lines, you can spray the entire pod with sandable heavy build up primer. Follow the instructions - it may take a couple coats. Paint with your favorite color afterwards. It sits in direct sunlight, so exterior automotive paint and clear with UV protectant is a good idea. Another option is to use acetone vapor to smooth it. Small enclosure big enough to fit the item - don't let acetone get on it, but pour acetone in the bottom of the container or put it in a container inside the container. Seal and wait. Good idea to search online for some more detailed instructions and videos. Acetone smoothed items may require more sanding for the gauges to fit.
3) Attachment - if you have the single ashtray pod, simply remove the shifter surround, unplug the power point and any other connectors - remove the ash tray, grind down the two little nubs and screw this in place. If you have the triple pod, you can use silicone / rtv to secure. You can also use 3M double sided sticky tape, or even velcro. Some people have molded these to the upper vent. If you do this, do not use bondo as a filler - you'll want to use a plastic filler or potentially fiberglass filler. Standard bondo will crack as the plastic expands and contracts ever so slightly.


